
After months and months of Hubby stepping on pins I finally figured out I needed a pin cushion that some how attaches to me. Yes, I have one but it just never seems to be any where near me when I need it, so I usually just end up putting them on the counter. I also saw something like this on the show Project Runway JR and the fact that I had stepped on two back to back that morning. These are fabulous and adorable, I cant belive I waited this long to make one.

1. Scraps of fabric big enough to make 2 circles the size of what you want your cushion to be.
2. Fiberfill
3. Sewing Machine
4. Coordinating fabric
5. fabric Pencil
6. Something to trace your circle ( I used one of my measuring cups)
7. Sewing pins
8. Velcro
9. Fabric Scissors
*Please read all directions before starting tutorial.
1. Grab your scrap fabric and trace two circles of exactly the same size.


2. Cut those out.

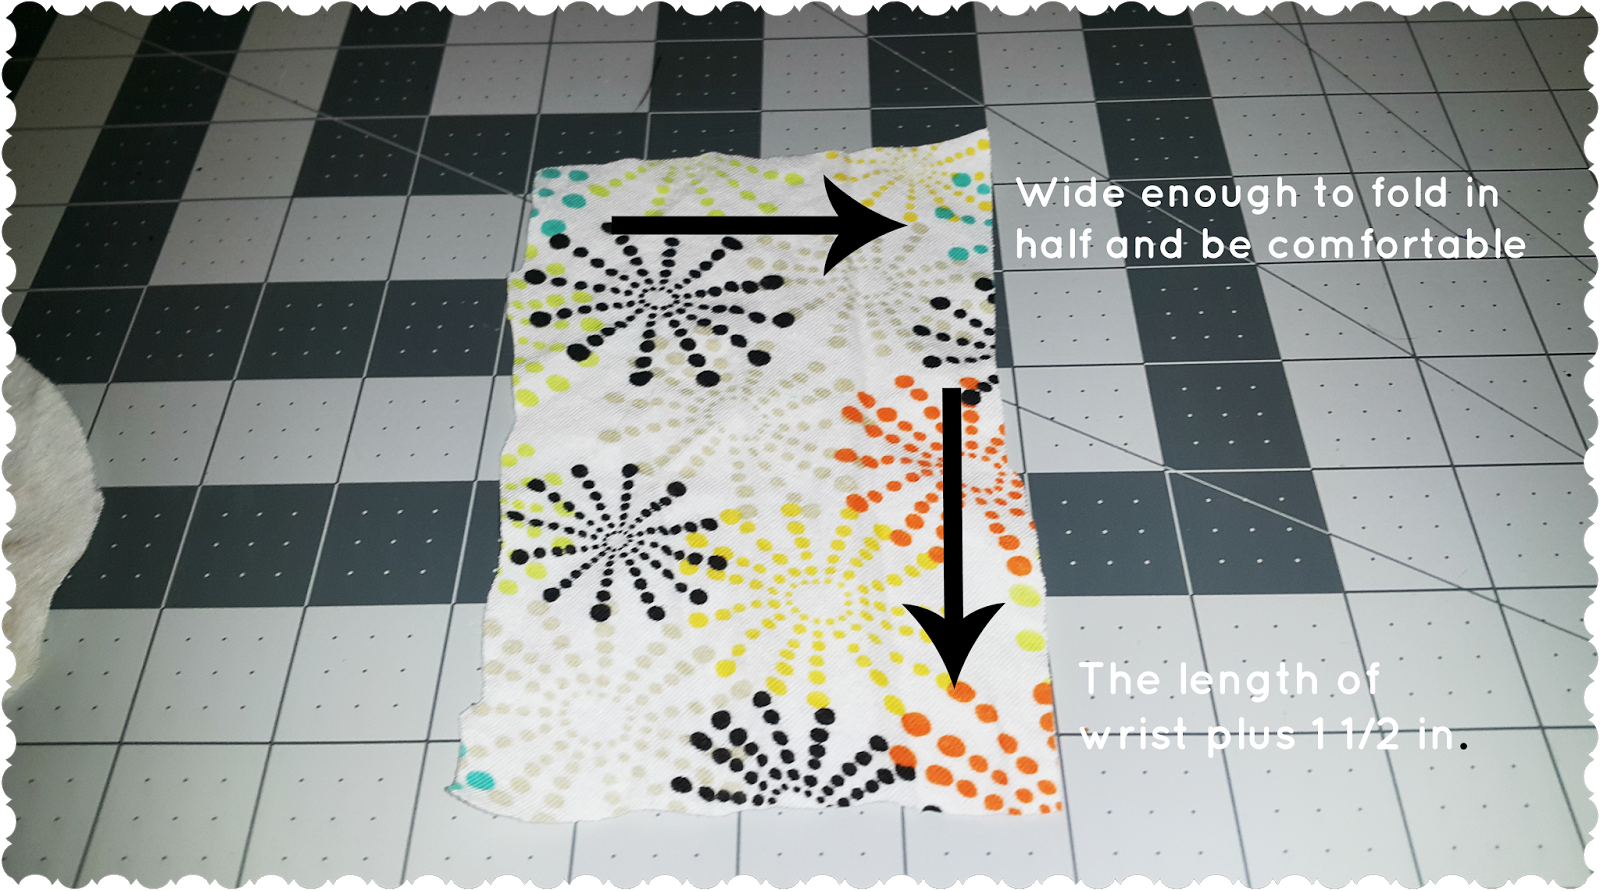
3.Measure your wrist and cut out a rectangle piece of fabric as wide as your wrist. Make sure its wide enough so it will fit around your wrist comforably. Eye ball it to give it at least an inch an a half or two just in case.
4. Take both circles lay them on top of each other with the prints facing and pin right in the middle. Fold wrist fabric in half length wise and pin.

5. Yey! Finally the fun part! Go to your sewing machine and sew your circle ALMOST all the way around slowly, leave a few inches open so you can put the fiberfill in it. Don't judge the stitches, I did this in quite a hurry. this is the little ones anyways, she insisted I make her one also. Its just for play :)


6. Grab the rectangle fabric that is for your wrist and sew it on the long side. make sure it is wrong side out (print facing in).

7. Sew ONE short side close.

8. Turn both fabrics right side out using the spaces you left unsewn.

9. Fill your ball up with fiberfill.

10. Hand sew your the rest of your ball up.

11. When that is done, push your needle though the top middle of your ball.

12.Go back to the top middle and push it though again. Arrange your thread so that it is spread out throughout the ball so it looks like your typical pin cushion.


13. Take your Velcro and cut 2 out two pieces that fit on your wrist strap. Place Velcro on wrist wrap so it fits your wrist.

14 Sew the Velcro to wrist wrap on OPPOSITE sides.

15. Take your pin cushion and hand sew it on the strap. I did one with it on the side and one with it on the middle of the wrist wrap.

16. There you go, now you have a must have sewing accessorize that cost a bit over $5 or more at a craft store, but this is personalized by you and hand made by you.

The little one loves hers, she's been wearing it for days like a bracelet..lol


0 comments:
Post a Comment