
It will be hard,but just keep in mind when you just want to say " No More!" think about what you are learning.
You are learning to make something that every woman needs. And as far as I am concerned every woman should know how to do. No, not because they might be a Zombie apocalypse and we might be without this and that, no... You should know how to do this so you can make and get exactly what you want.
Imagine being able to design and personalize and make your own underwear. Seriously!!! Do you realize what kind of power that wields?
It's so empowering to be able to get exactly what you want by making it.
Yes it will probably take you more than a few tries to get what you want, but imagine when you do get there.
My point is stick with me, this tutorial is worth it I promise you. If you don't do it the first time you try this, keep going I'm sure there is plenty of fabric around your house you can keep practicing on.
Keep trying til you get it because you are going to feel like a dam super hero once you get it right. I'm still practicing, Yeah I started sewing late October last year, but I am still such a beginner.
So as you can tell today we are making our own knickers!! Woot! Just in time for Valentines day!
I made sure I posted this soon enough so you would get plenty of practice before the big day comes. And if there is no other half, hell everyone feels pretty with cute little knickers on especially knowing you made them.
I'm sure this is not the only way to be able to make these, but this is how I figured and learned to do it. Pretty much trial and error. this is officially my third try making them.
First try, I made them out of that flannel sheet that I also used to make my Wrist watch Pin Cushion. They were comfy, but my sewing machine was acting crazy so these was extra thread everywhere and the stitching was horrible ( more than the usual).
Second try I once again used a flat sheet, this time it was purple but it was not flannel ( just a normal sheet). Made them exactly as I made the first one. Went to put them on and the fabric did not stretch (duh) and I also used a different stitch and Bam! The side seams tore the fabric before I could even get them on. Yeah... that did really well for my self esteem.
I am happy to report that the 3rd try was perfect, I loved how they fit. Nothing tore and they looked super cute on me. And now I can finally post this tutorial since I have had success :)

Materials:
1. Fabric you intend on using. (Mine is from an old dress that one of my girls donated me, I thought it was the perfect fabric for Valentines day).
2. Sewing machine and your usual sewing accessories
3. Coordinating fabric
4. Enough cardboard to trace front/back/liner of your Knickers ( Used two of hubbies beer box I was saving).
5. Something to trace with
6. Freezer paper or any paper you can trace on.
7. Elastic for waistband ( I got mine off a fitted sheet that I deconstructed for a different project)
8. Knickers that you like the fit and style of
* Please read all directions before starting project
1. Take the knickers that you like the fit and style of and trace the front and back on the cardboard. I actually cut mine on the side and bottom seams to make this easier. I dint mind sacrificing them for the project.

2. Once they are both traced, take your ruler and measure half an inch around the front and back of what your traced. Mark it with a dashed line as I did in the picture above.
3. Connect your dashed lines, now you have your half an inch seem allowance. Mark with arrows the direction your pattern should be and also label the front and the back so it will not confuse you later.

4. Cut both front and back out using your seem allowance.

5. Take the knickers that you were using to trace everything and lay it out so you can trace the lining. The fabric that you use for this should be Breathable. Add dash line for 1/2 inch seem allowance, connect them and cut out just as you did with the front and back.


6.Grab your freezer paper and take the 3 cardboard pieces and trace it.


7.Get your fabric prepared. Iron it if you haven't already. I got my fabric from deconstructing a summer dress, no iron needed thankfully.

8. Cut out all your patterns on the freezer paper.

9. Pin your patterns on the fabric you want them on.

10. Pin the pattern all the way around. you are going to be cutting this out by hand, you want to make sure you have an exact copy.

11. Do this with all your patterns.

12. Cut it all out and carefully take the pins off the patterns and freezer paper.

13. Take the front piece,find the inside part(the part that is going to be touching your skin) measure half and inch and pin. Do this all the way around your fabric for your seem allowance, but do the top part where your elastic is going to be last.

14. Do this to the other 2 pieces also. Hang in there, we are more than halfway. I know its a pain but its worth it.

15.Take your knickers lining (smallest piece) and sew all the way around.Do a better job pinning it unlike me..lol also make sure you take the pins out as you sew, otherwise it will ruin your sewing machine.
16. Take front piece and bottom piece and line them up. Wrong side should be facing up.

17.Quickly pin together. Both outside parts should be facing each other.

18. Sew together using your seem allowance. use Zig Zag stitch so it can stretch if it needs too.

19. Using your seem allowance sew the leg parts of both your front and back. DO NOT do the top parts where your elastic is going yet.


20.Take your knickers lining and place it between the front and back parts ( You know where it goes) and pin it.

21. Almost done!! Line it up appropriately while you sew it on. Just go over the seams that you have already done on it.

22. Now do the sides that touch your hips. Make sure your on the inside part of the fabric. Use zigzag stitch so it can stretch if it needs too.

23.When you turn your fabric right side out this is what it should look like.

24. Turn it wrong side out again and grab your elastic and slip it into the seem allowance on the top and pin it.

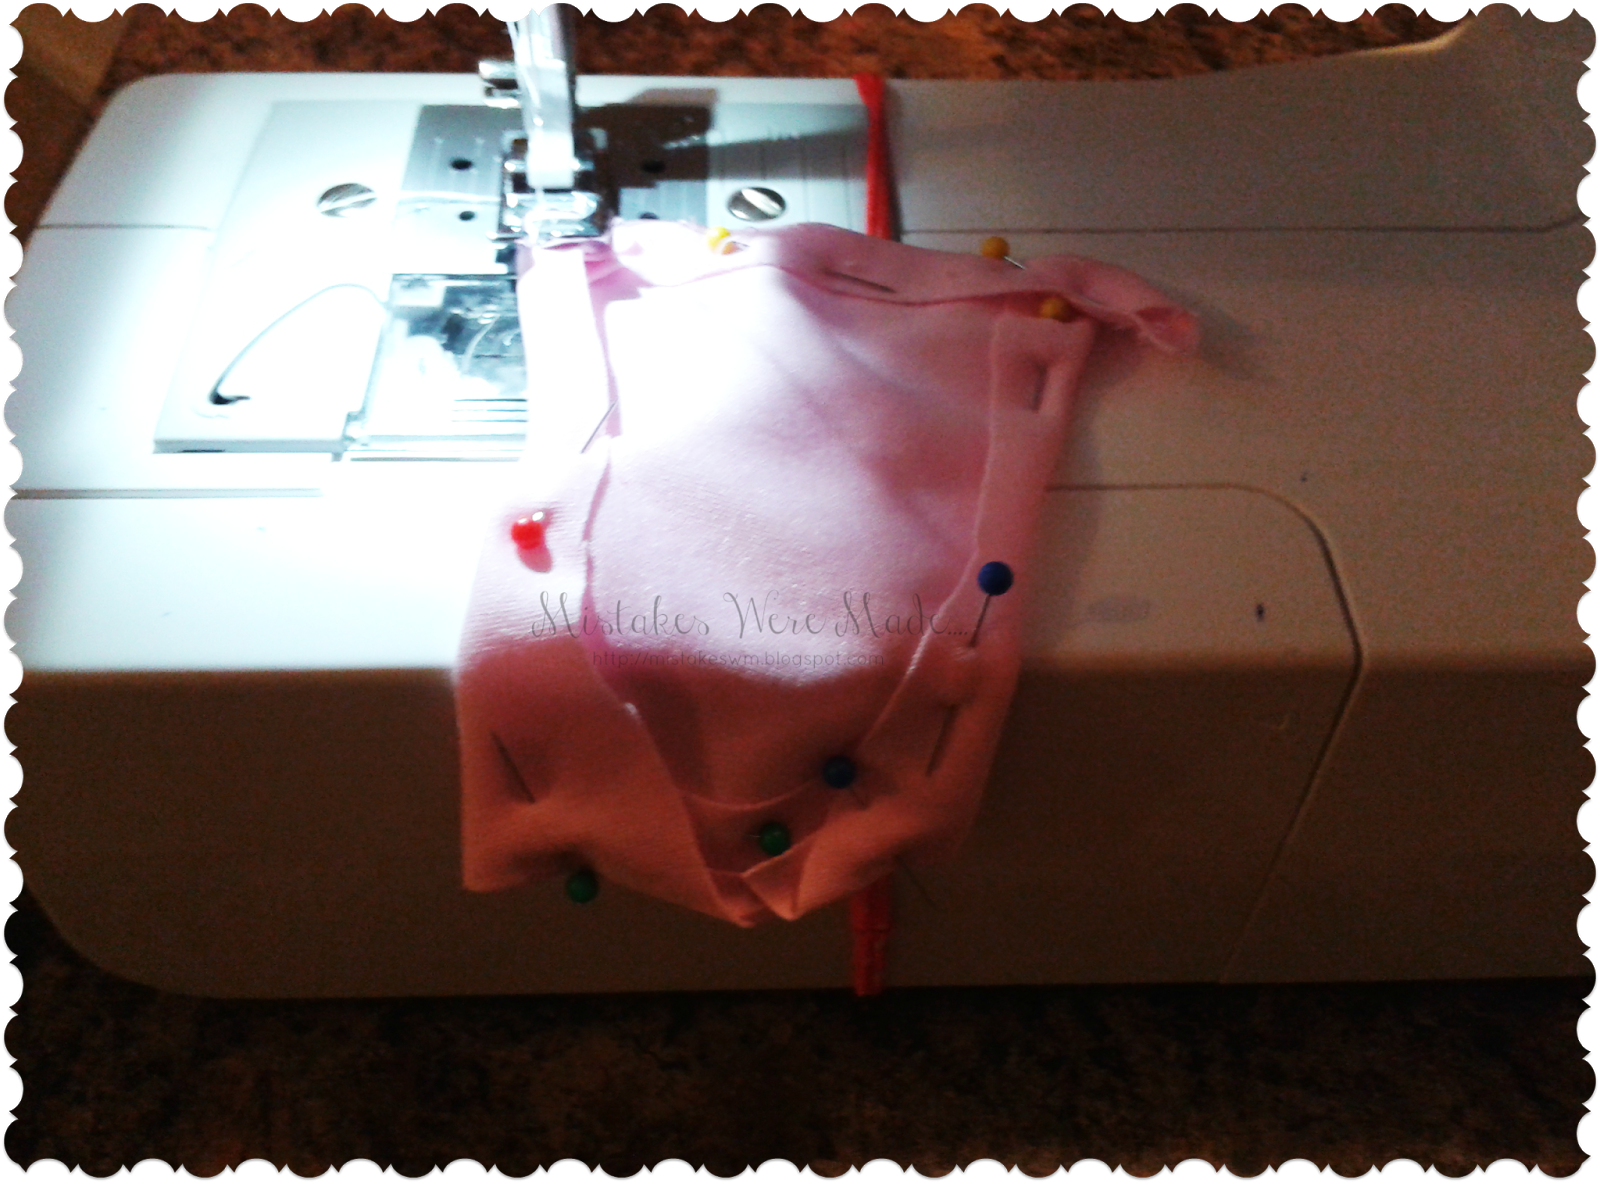
25. Go back to your sewing machine and slip it under the foot, take your pin off while doing so. It should keep your elastic in place. Stitch your zigzag stitch for about half an inch, then go over it backwards so it stays in place. As you sew the elastic under the fabric ( lining it up as you go) stretch elastic (not to much though).

26. You can go all the way around fabric if you want with the elastic or you can stop once you do the front then cut. Then do the back part the same way, its up to you. Cut any extra thread that's hanging on and your done!!!!

Like I said before we started this whole thing if you don't get the results you want the first time, do it again. remember this is my 3rd try and there was a lot of contemplation on what I did wrong between the 3.
Keep your cardboard patterns, the next time you want to make another one you have it and when you trace it on paper you can change the design ( smaller hips straps or whatever ) and cut it out that way. Good Luck and Have fun!!


0 comments:
Post a Comment